Saint Patrick’s Day is almost here, and I decided to share this cute craft idea with you. These little leprechaun hats are a fairly simple craft to put together, so kids young and old should be able to help assemble them in no time.
The instructions are using an empty and clean K-Cup, but you could definitely use a brand new one and turn it into a festive little mini gift for a teacher or friend! Might I recommend using something fun like Irish Cream coffee (affiliate link)? It would be adorable and then useful for a little wake-me-up.

Leprechaun Hats with K-Cups DIY Craft Gift
You Will Need:
Used K-Cup (or new if you’d like to make this into a gift!)
Green, black, and yellow construction paper
Ruler
Glue (clear or white)
Scissors

To Make:
1. If using a used K-Cup, remove lid and clean out coffee grounds and filter. Wash with soap, rinse, and dry.


2. Use the K-cup to measure the correct height of the green paper strip by placing one end of the K-cup on the edge of the paper and marking the place of the other end with a pencil. Then, use a ruler to draw a line across the paper and cut the strip. Cut the strip in half.

3. Cut a small strip of black paper the same length as the green paper strip.

4. Use the black strip to measure a piece of yellow paper slightly larger than the black paper. Cut the yellow paper into squares. Fold the square in half and cut a smaller square out of the center to create a buckle.
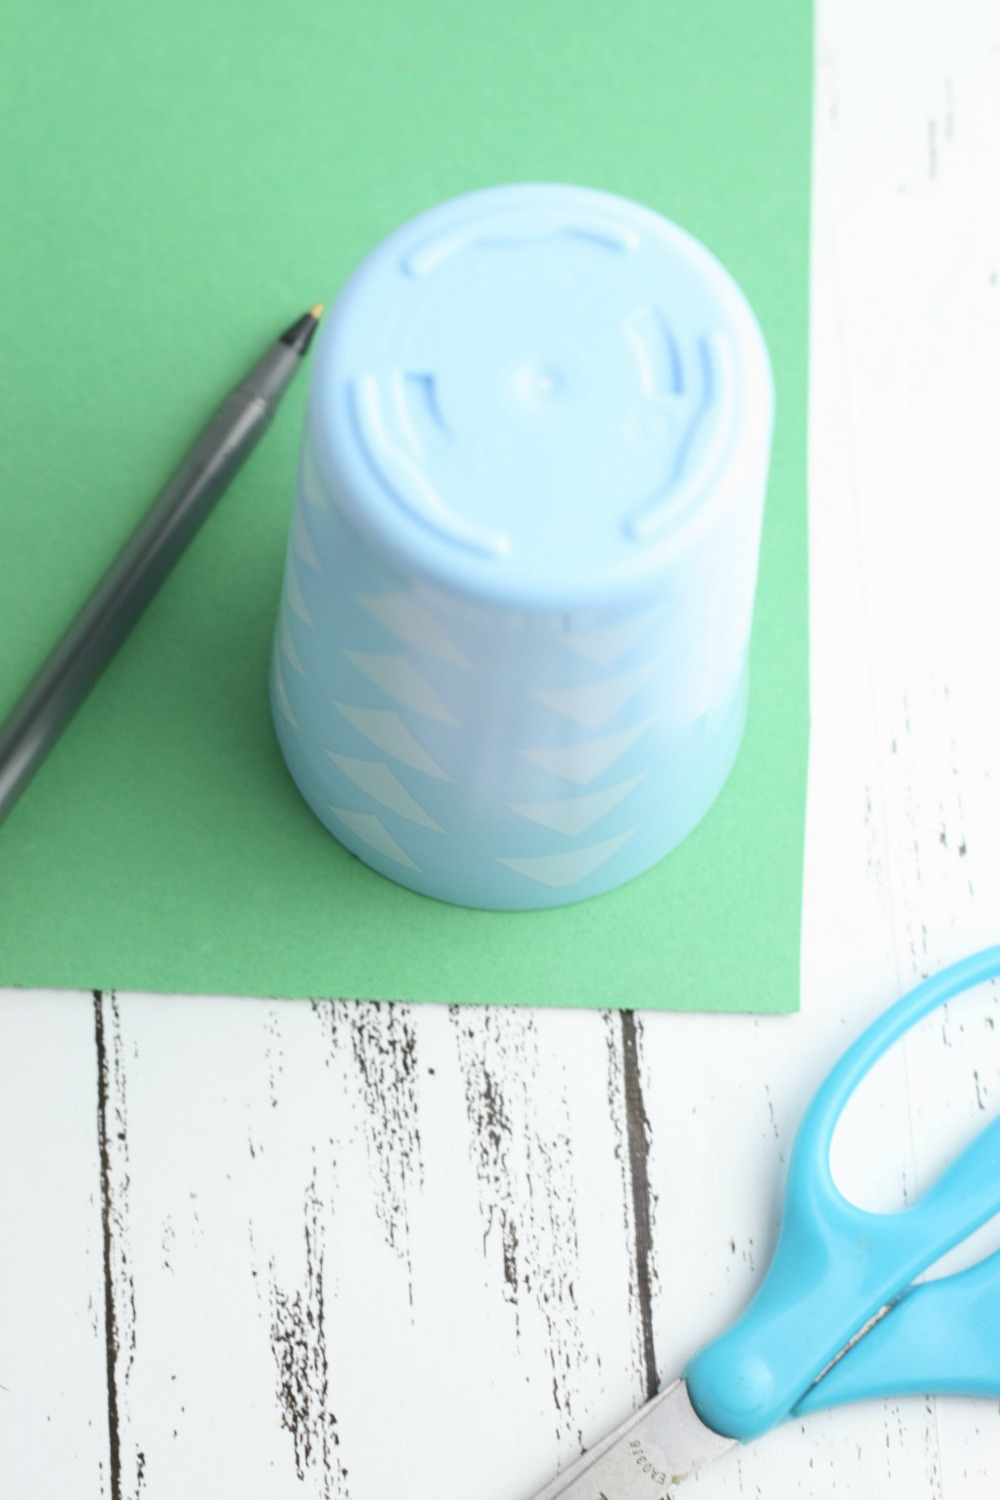
5. Using a cup that is slightly larger than the K-cup, trace around the rim on a piece of green construction paper and cut out the circle.

Fold the circle in half and cut a smaller circle from the middle.

Measure the inner circle by placing it on top of the K-cup and adjusting the size until the round piece of green paper fits snugly over the K-cup to form a rim.

6. Place the small side of the K-cup on a piece of green paper and trace around it. Cut out the circle and glue it to the top of the hat.

7. Wrap the green strip around the sides of the K-cup and glue to secure.
8. Glue the small black strip around the bottom of the green strip.

9. Glue the yellow buckle on top of the black strip.
I hope you enjoy this little craft. I’d love to hear how everyone liked making and receiving it. 🙂

