One of the most hands-on history companies around, Home School in the Woods, sent my family a digital copy of a program for my oldest sons. The title, meant for grades 3rd-8th, came as a zip file to extract and use from my computer. They make fabulous, in-depth history unit studies, and we chose one that followed along with something my sons had already been learning about this school year.
We have been able to review a title from their Time Travelers U.S. History Studies series, Time Travelers: World War II. It includes 25 lessons, which can be completed at any pace that you choose. We chose to do one lesson a week since it’s summer, but we’ll ramp it up and go quicker once we get going with full school again in a few weeks.
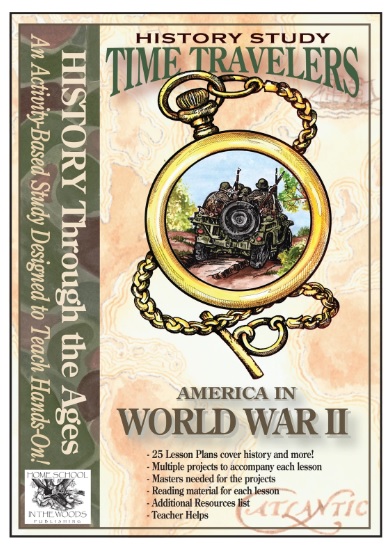
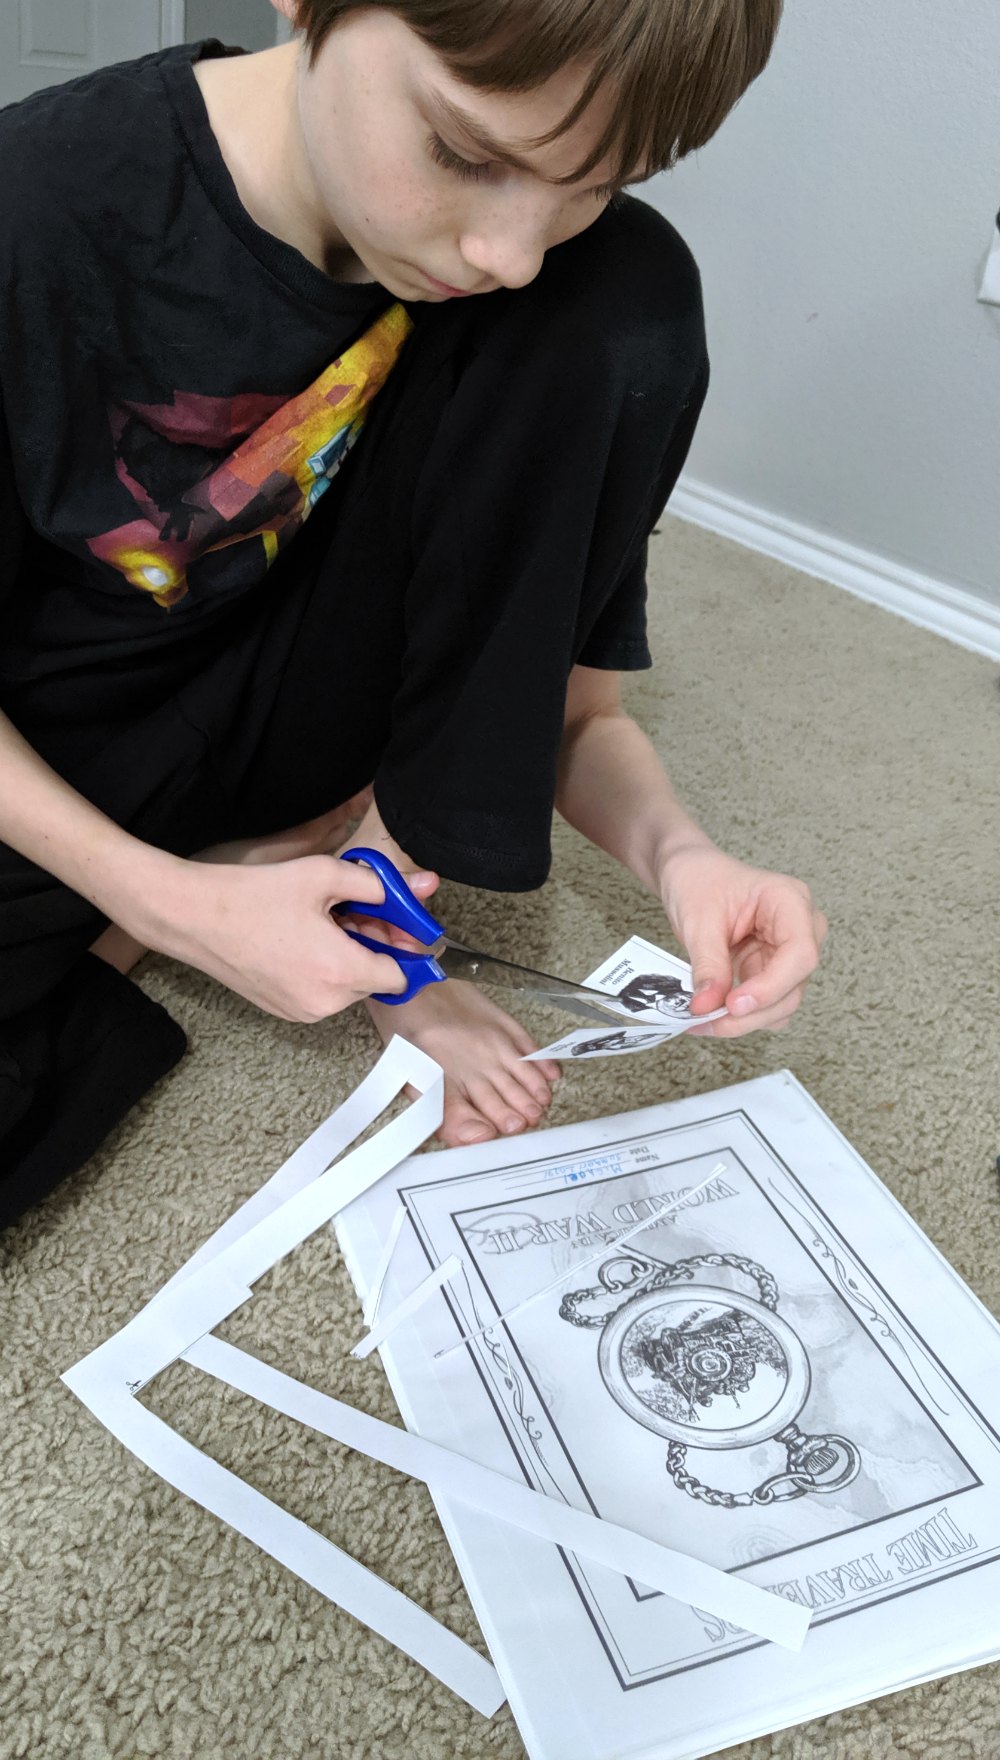
We began by preparing some binders for the boys using the included printables for the cover and the spine of the binder. My boys chose not to color them, but you could totally personalize it a bit by coloring them.
Then, I got started printing things out! I decided to print one lesson at a time, and below you can see a small portion of what we used for the first lesson. I like that the lesson text itself is brief and concise, while the activities that they are assigned to work on throughout the lesson really flesh it out and make it more real through experiences and hands-on exercises.

Each lesson has some copywork, which my boys don’t love, but did do. This is a sneaky way to work on their penmanship since so much of our regular schoolwork is done on the computer. They are learning famous quotes at the same time!

I also like the included Lesson Plan Schedule. This shows you how to move along at whatever pace you would like, and tells you what the students will be working on with each lesson. They will be creating a lapbook for the World War II study, as well as a notebook (which is what we use the binder for). It is noted in the lesson plan schedule which assignment is working on which homemade book.
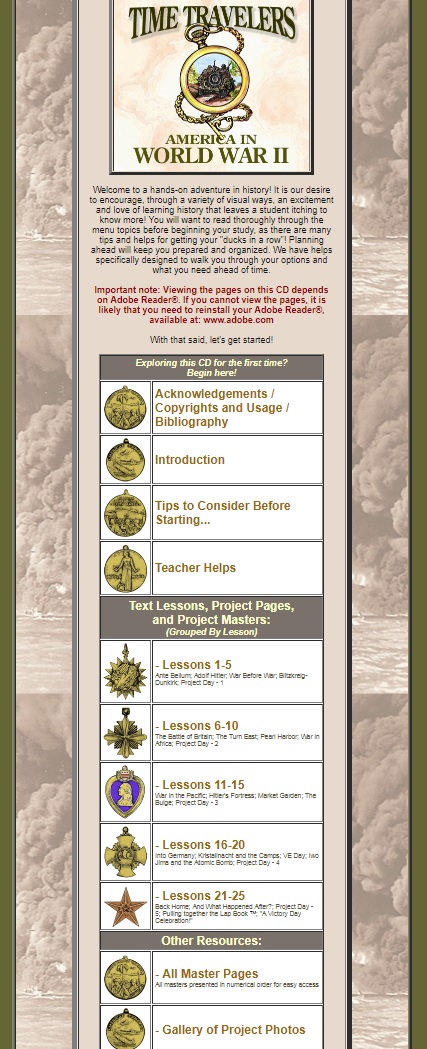
I wanted to show a screenshot of what the program looks like when you unzip it and click on the “Start”icon. It opens up in a regular browser, so you use it just like you would a website once you have it downloaded and unzipped.
Below, you can see that there are many different places to explore in the curriculum. It is easy to go from lesson to lesson and see what needs to be printed and completed.
If you’re unfamiliar with lapbooking, be sure to check out Amy Pak’s blog post Why Teach with Lapbooks? She describes what lapbooks are in detail, gives a great tutorial on how to make them, and shows them in action. You are essentially asking students to create a portfolio to show what they have learned through their lessons. It also becomes a great study tool for future tests or presentations. You can’t see it in the screenshot above, but there’s also a section when you purchase this program that explains lapbooks and how to get everything set up.
There is also a section in the program itself (it didn’t make it in the screenshot because there’s just so much!) that explains lapbooks further.
I wanted to show an example of some of the pages you get when you click on the different parts of the program. Below is a small snippet of the Master Pages. You can click through to whichever lesson you are on to quickly move down to the masters that correspond to that lesson.
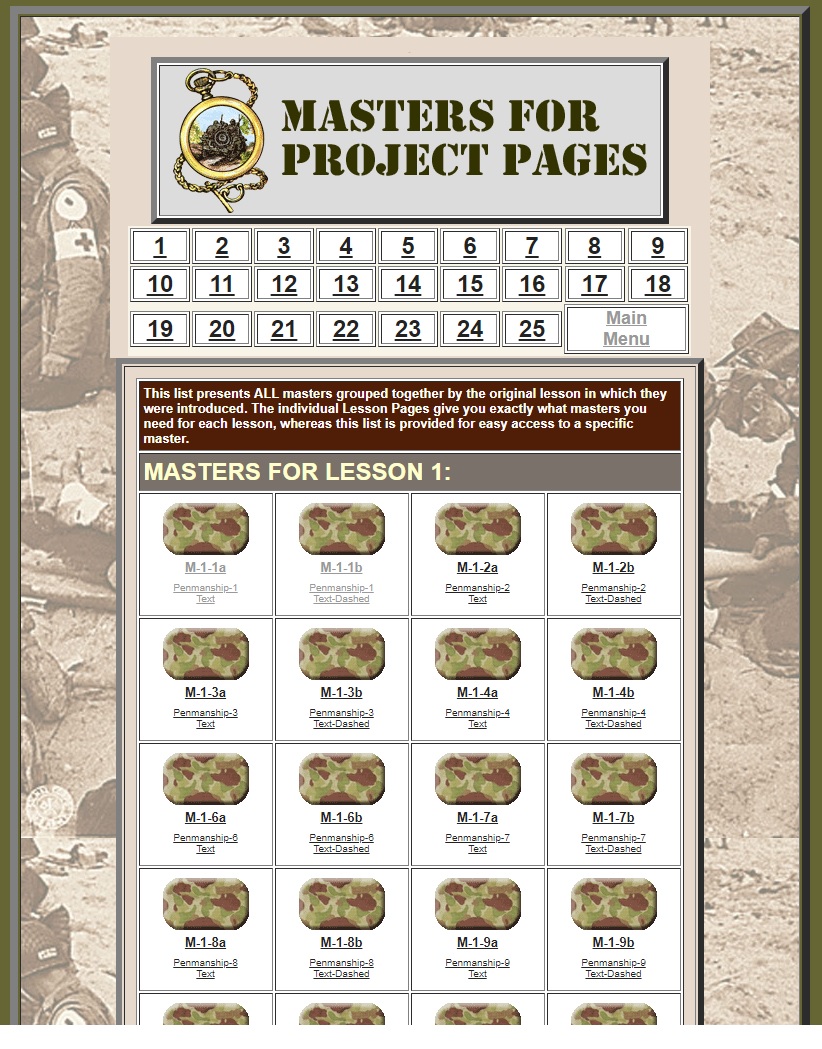
When they say Masters, this includes your printables for their penmanship sheets, timeline lines, timeline figures, teacher keys, the printables for students to write their own newspaper articles, games, vocabulary, and so on. ALL of these are ALSO available by going to each individual lesson on the main screen, but this is good if you’re trying to get ahead and print a lot at one time for a lot of lessons.
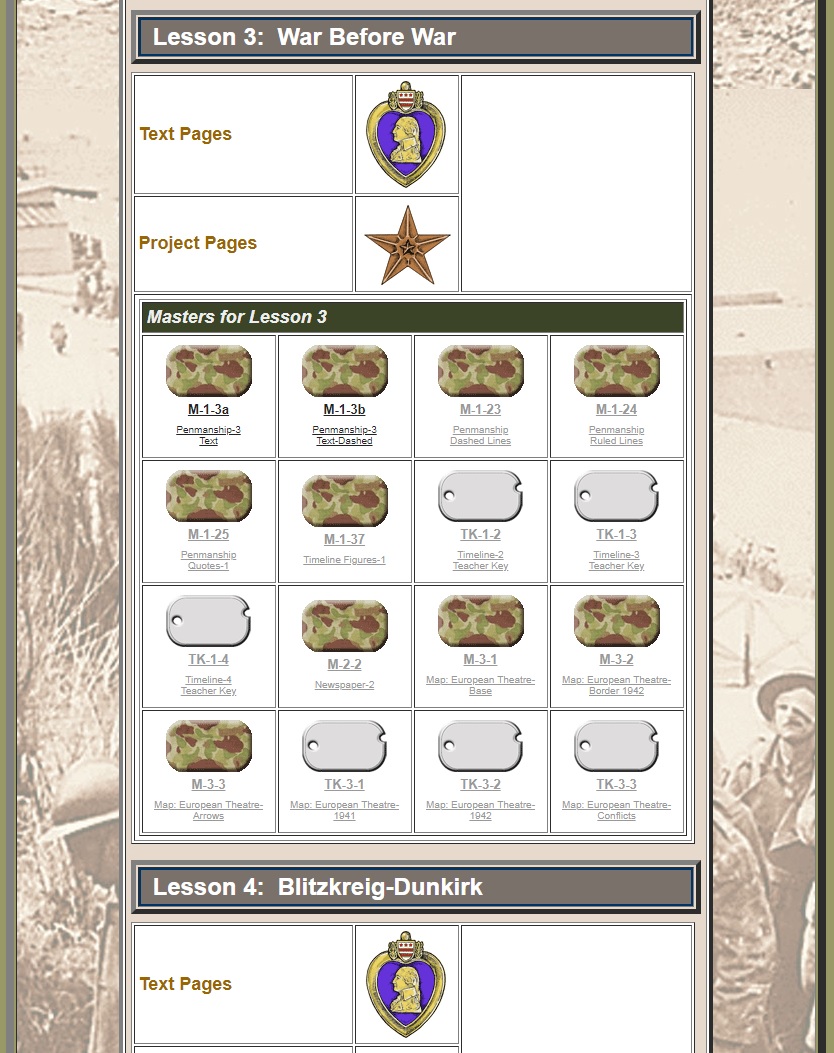
If you prefer to take it one lesson at a time, you can click on the lessons from the front page when accessing your downloads, and it’ll take you to a page that looks like the one below, where it has the text, project explanations, and all of the Masters in one place for that lesson.
I also love that they provide a photo gallery of what the projects and different hands-on things “should” or could look like. I am very visual, so following directions is so much better for me when I can see what the end result is supposed to look like! My sons liked this, too, and we would often check out the gallery before getting started on our projects. An example is below:
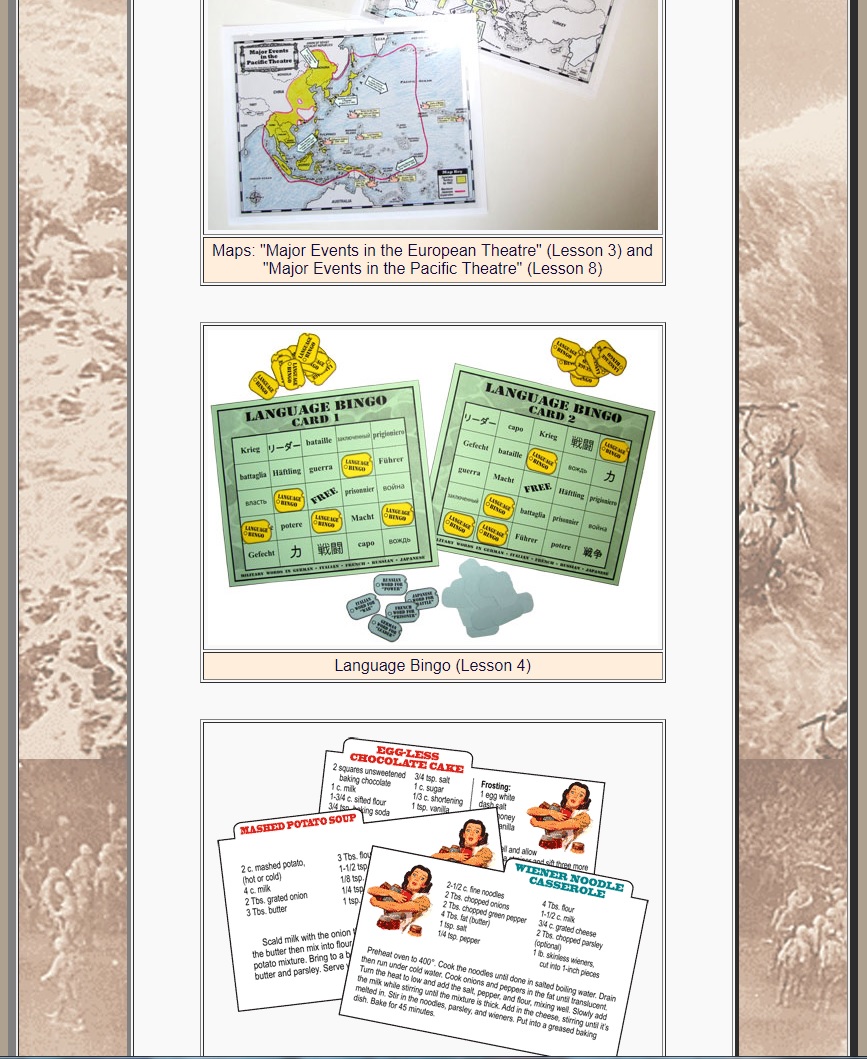
As you can see, this curriculum incorporates so many different multi-sensory assignments and experiences to help teach about World War II. Recipes, games, maps, creating their own newspaper articles, using a timeline with timeline figures, making a cap, filling out realistic army documentation like during that time period, learning about rationing and using ration coupons and books, and more are included assignments.
Home School in the Woods does an excellent job teaching with timelines and timeline figures, and this program is no exception. I love that my kids can learn about history this way, so they are able to easily connect the dots about people, places, and time periods.
I also like that both of my boys could do this history together. I could easily let my 2nd grader tag along with most of the work as well, which makes it great for large families. Older kids could definitely use this to supplement their American History or World History studies and would learn so much from it that a simple textbook could never convey!

My 9 year old’s favorite assignment so far was looking through the old propaganda posters during that time period and reading about them. He was amazed at what our government was pushing on the public. He was able to color in one from that time period.
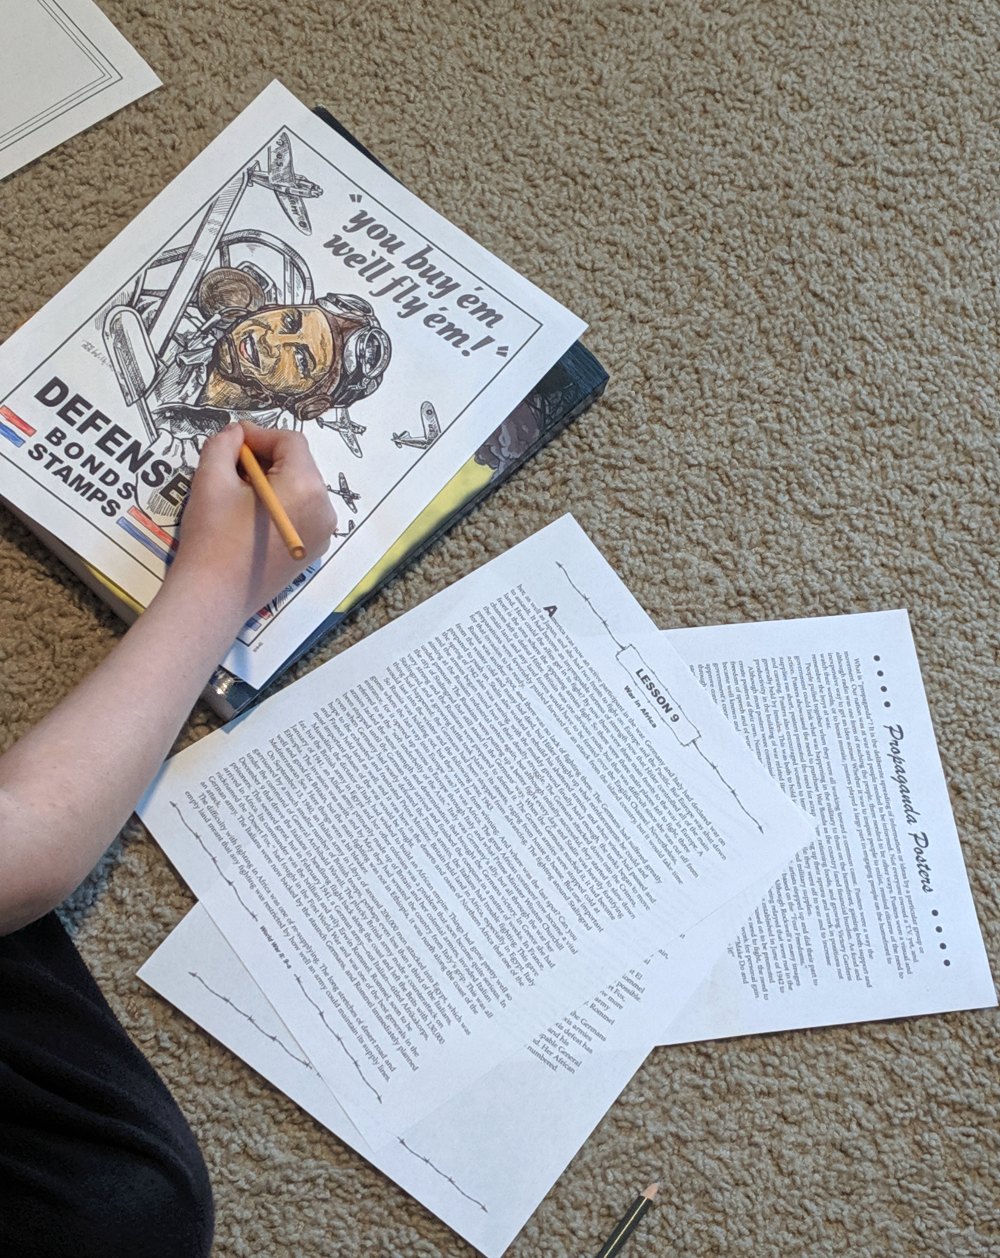
He also got to create his own, and chose the “Grow Your Own!” message.

Home School in the Woods has great curricula for unit studies. It’s a perfect way to really delve into details about whatever time period or civilization that you choose. I like that you can schedule the 25 lessons however you’d like, and that it’s easy to see what your child should be doing and when. This program would work for block scheduling, traditional Monday-Friday history, or even as a co-op or other once a week program to study the subject in a fun way.
You will definitely need access to a good printer, and I found my black and white one to be more than sufficient for what I needed to print.
This curriculum is engaging, fun, and different than anything else out there! They’ve been doing this a long time and their excellence shows in the product.
![]()
My family has reviewed several Home School in the Woods products in the past, including:
The Homeschool Review Crew was fortunate enough to review many different products from Home School in the Woods over the past few weeks. In addition to other Time Travelers U.S. History Studies, many reviewers were able to use the Project Passport World History Studies, including their newest release on Ancient Rome.
To see what other homeschooling families did with this hands-on history curriculum, be sure to click the banner below: