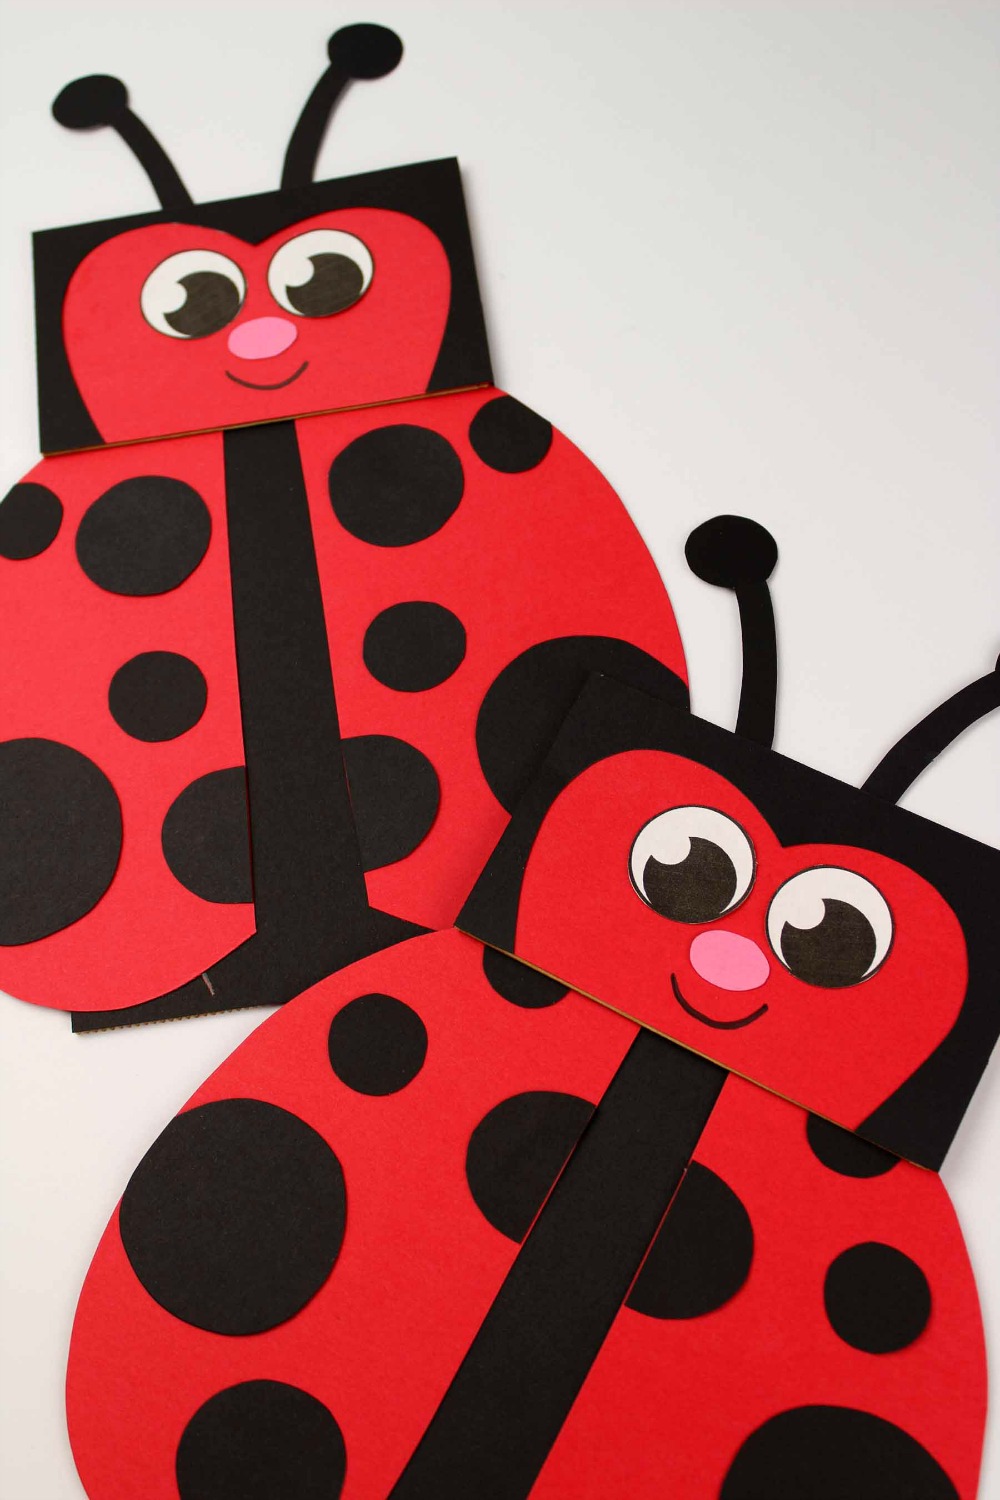
Do you love a good paper bag craft? I know that I love the simplicity of them, and this ladybug puppet cranks it up a notch! Check out the instructions below on how to make your own.

Do you call this insect a lady bug or a lady bird? Either way, whip up a few of these adorable paper bag puppet crafts with your kids with just a few simple supplies.
You Will Need:
- Cardstock or Construction Paper
- Paper Bags
- Glue
- Scissors
- Black Marker
- Printable ladybug template

To Make:
- Download and print out the template.
- Cut the template out.
- Cut large squares of cardstock or construction paper and glue onto the paper bag. You want to glue on the side that the square bottom flaps up.
- Use scissors to trim off any excess paper from the sides.
- Trace the wing template onto red paper and cut out.
- Trace the circles for the wings onto black paper and cut out.
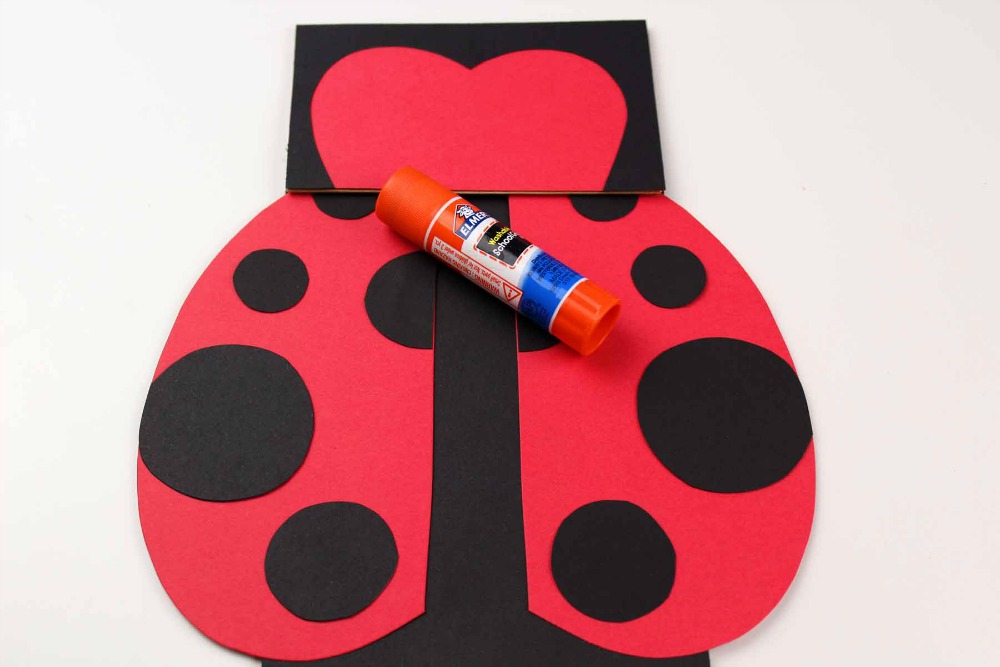
- Glue the circles onto the wings. Use scissors to trim off any excess paper from the sides.
- Trace the ladybug’s face shape onto cardstock and cut out.
- Glue the face shape onto the paper bag and then use scissors to trim off any excess paper from the sides. (refer to the photo)
- Glue the wings onto the paper bag. (refer to the photo)
- Trace the antanee template onto black paper, cut out and glue onto the back of the paper bag.
- Cut the eyes out and glue onto the ladybug’s face.
- Trace the small oval onto pink paper, cut out and glue just below the eyes.
- Use a black marker to add a mouth to your ladybug’s face.
- Your ladybug paper bag puppet is finished!


This is such a fun and inexpensive craft for a classroom! Have fun and make ladybugs in every color of the rainbow!