This quick and easy paper plate owl craft is a simple craft that people of all ages will enjoy. Try mixing up the color combinations for a unique look for each person making it.
My kids love to do arts and crafts that allow them to have a lot of creativity. Doesn’t this one look like it could be fun for children of all ages and abilities? These inexpensive supplies are the perfect way to add a little hands-on to your homeschool, preschool, or after school time. Use up those leftover birthday party plates and the scrap ribbon leftover from a roll to make this cute little owl.

Paper Plate Owl Craft Instructions
Remember, if this color combination doesn’t suit you, just adjust the suggestions for whatever you would like to use.
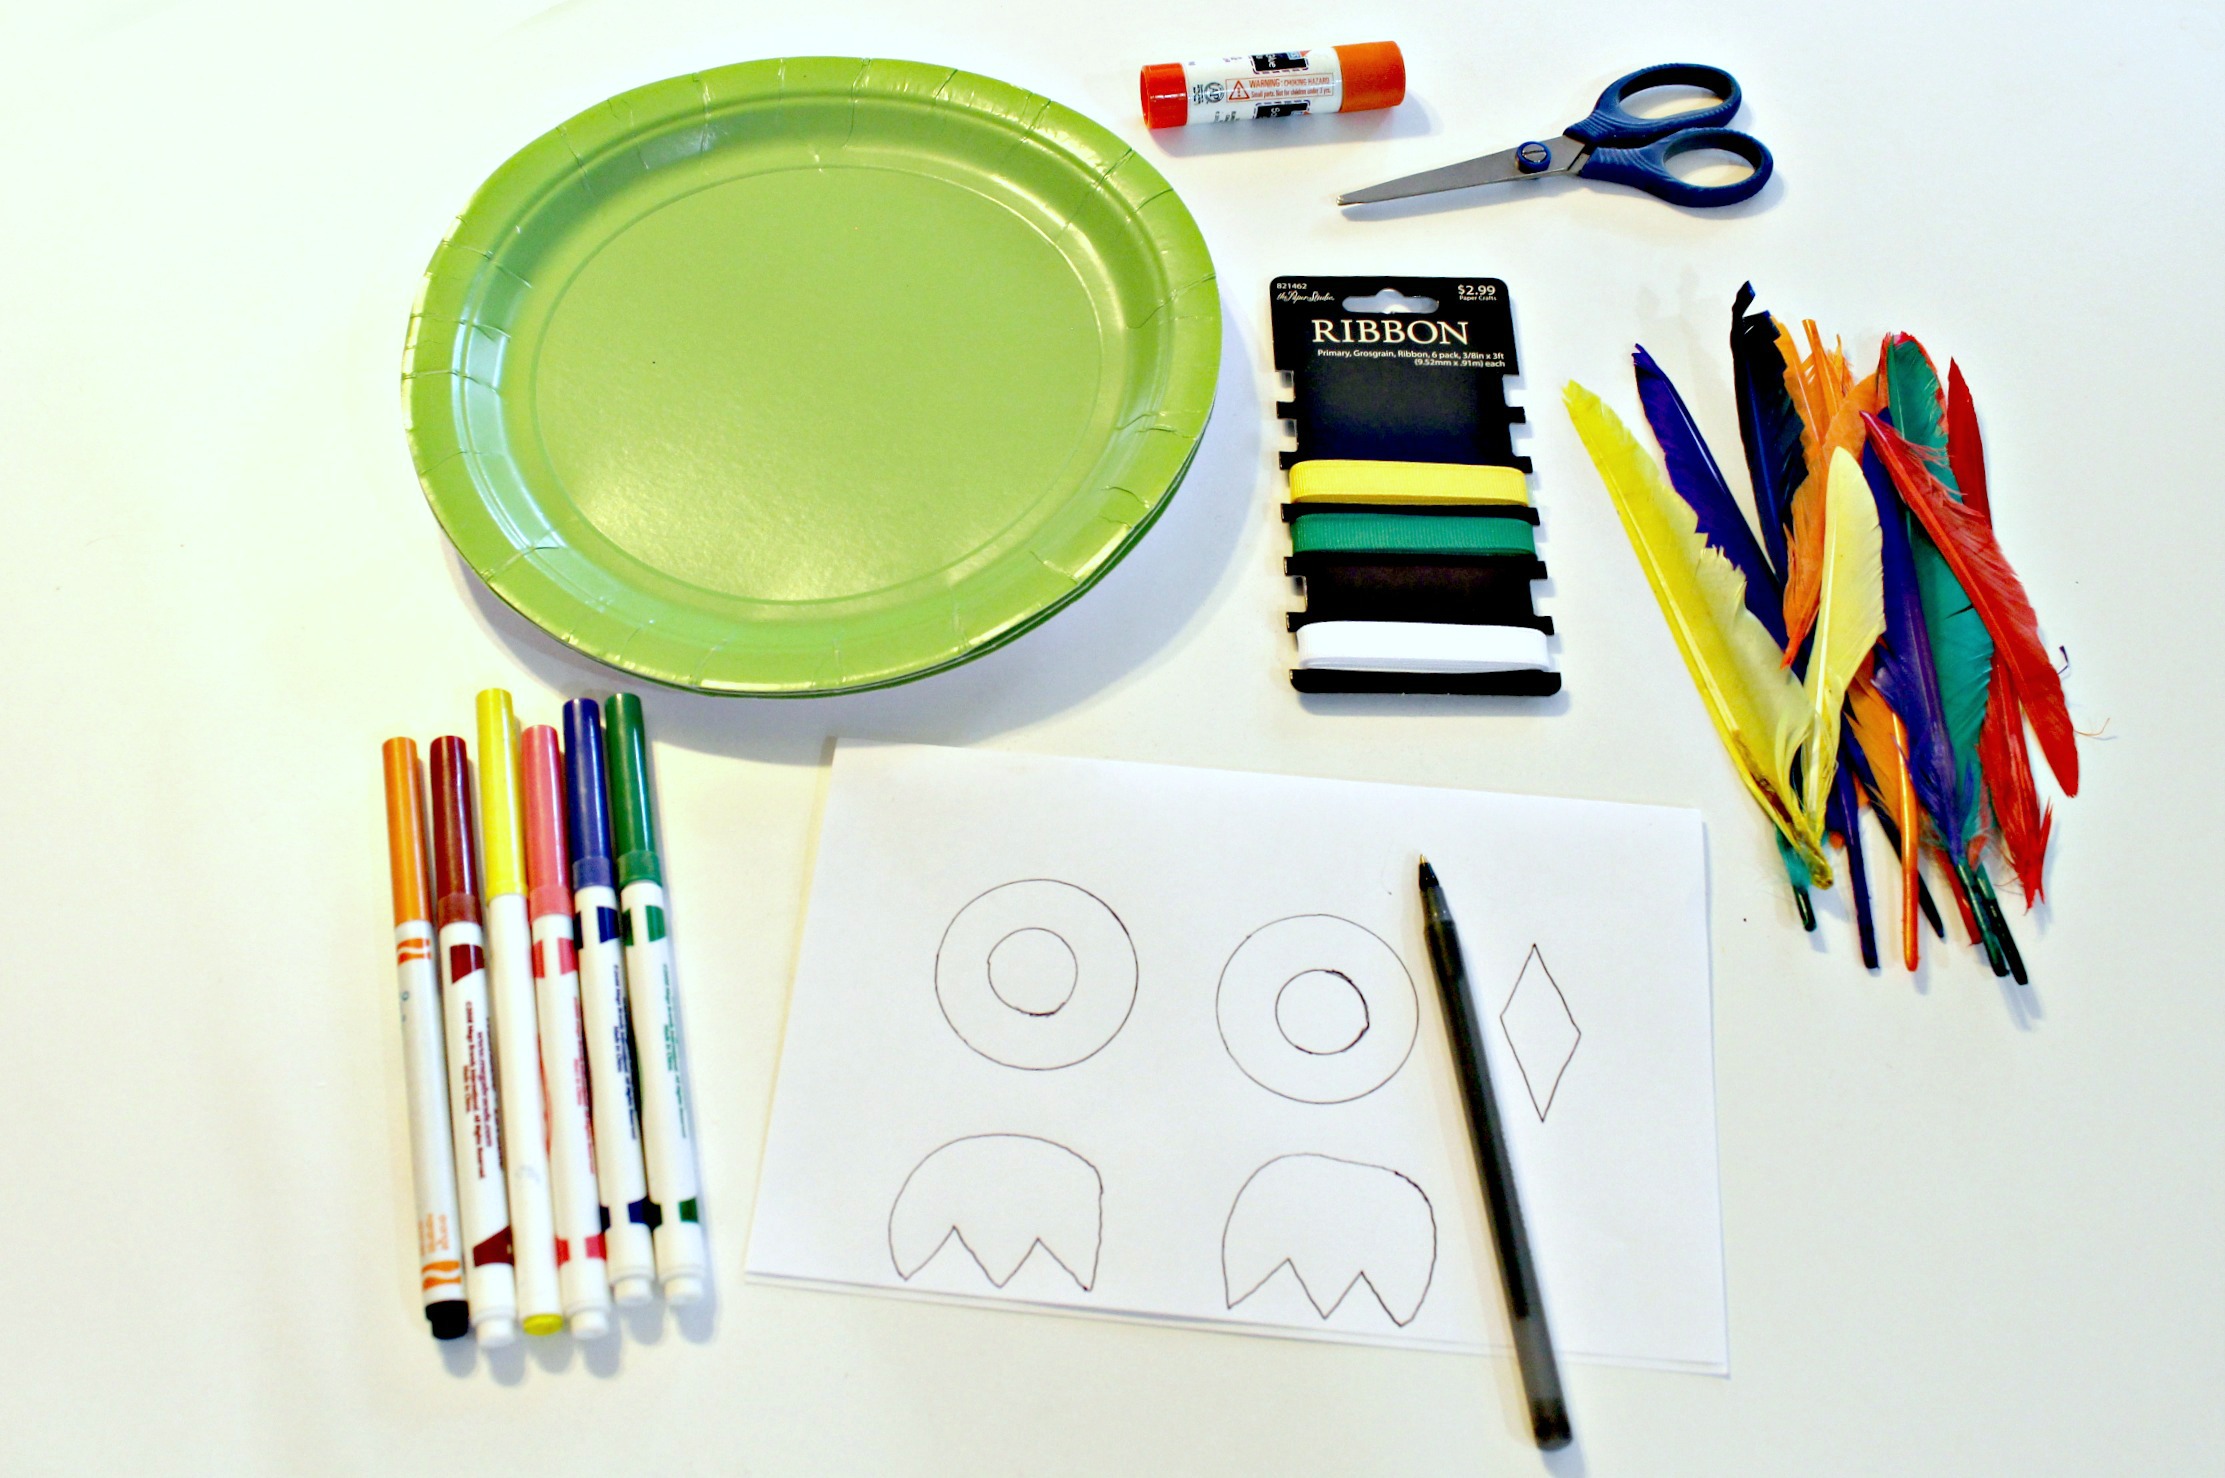
Supplies:
- 3 green paper plates
- children’s glue
- craft feathers (affiliate link)
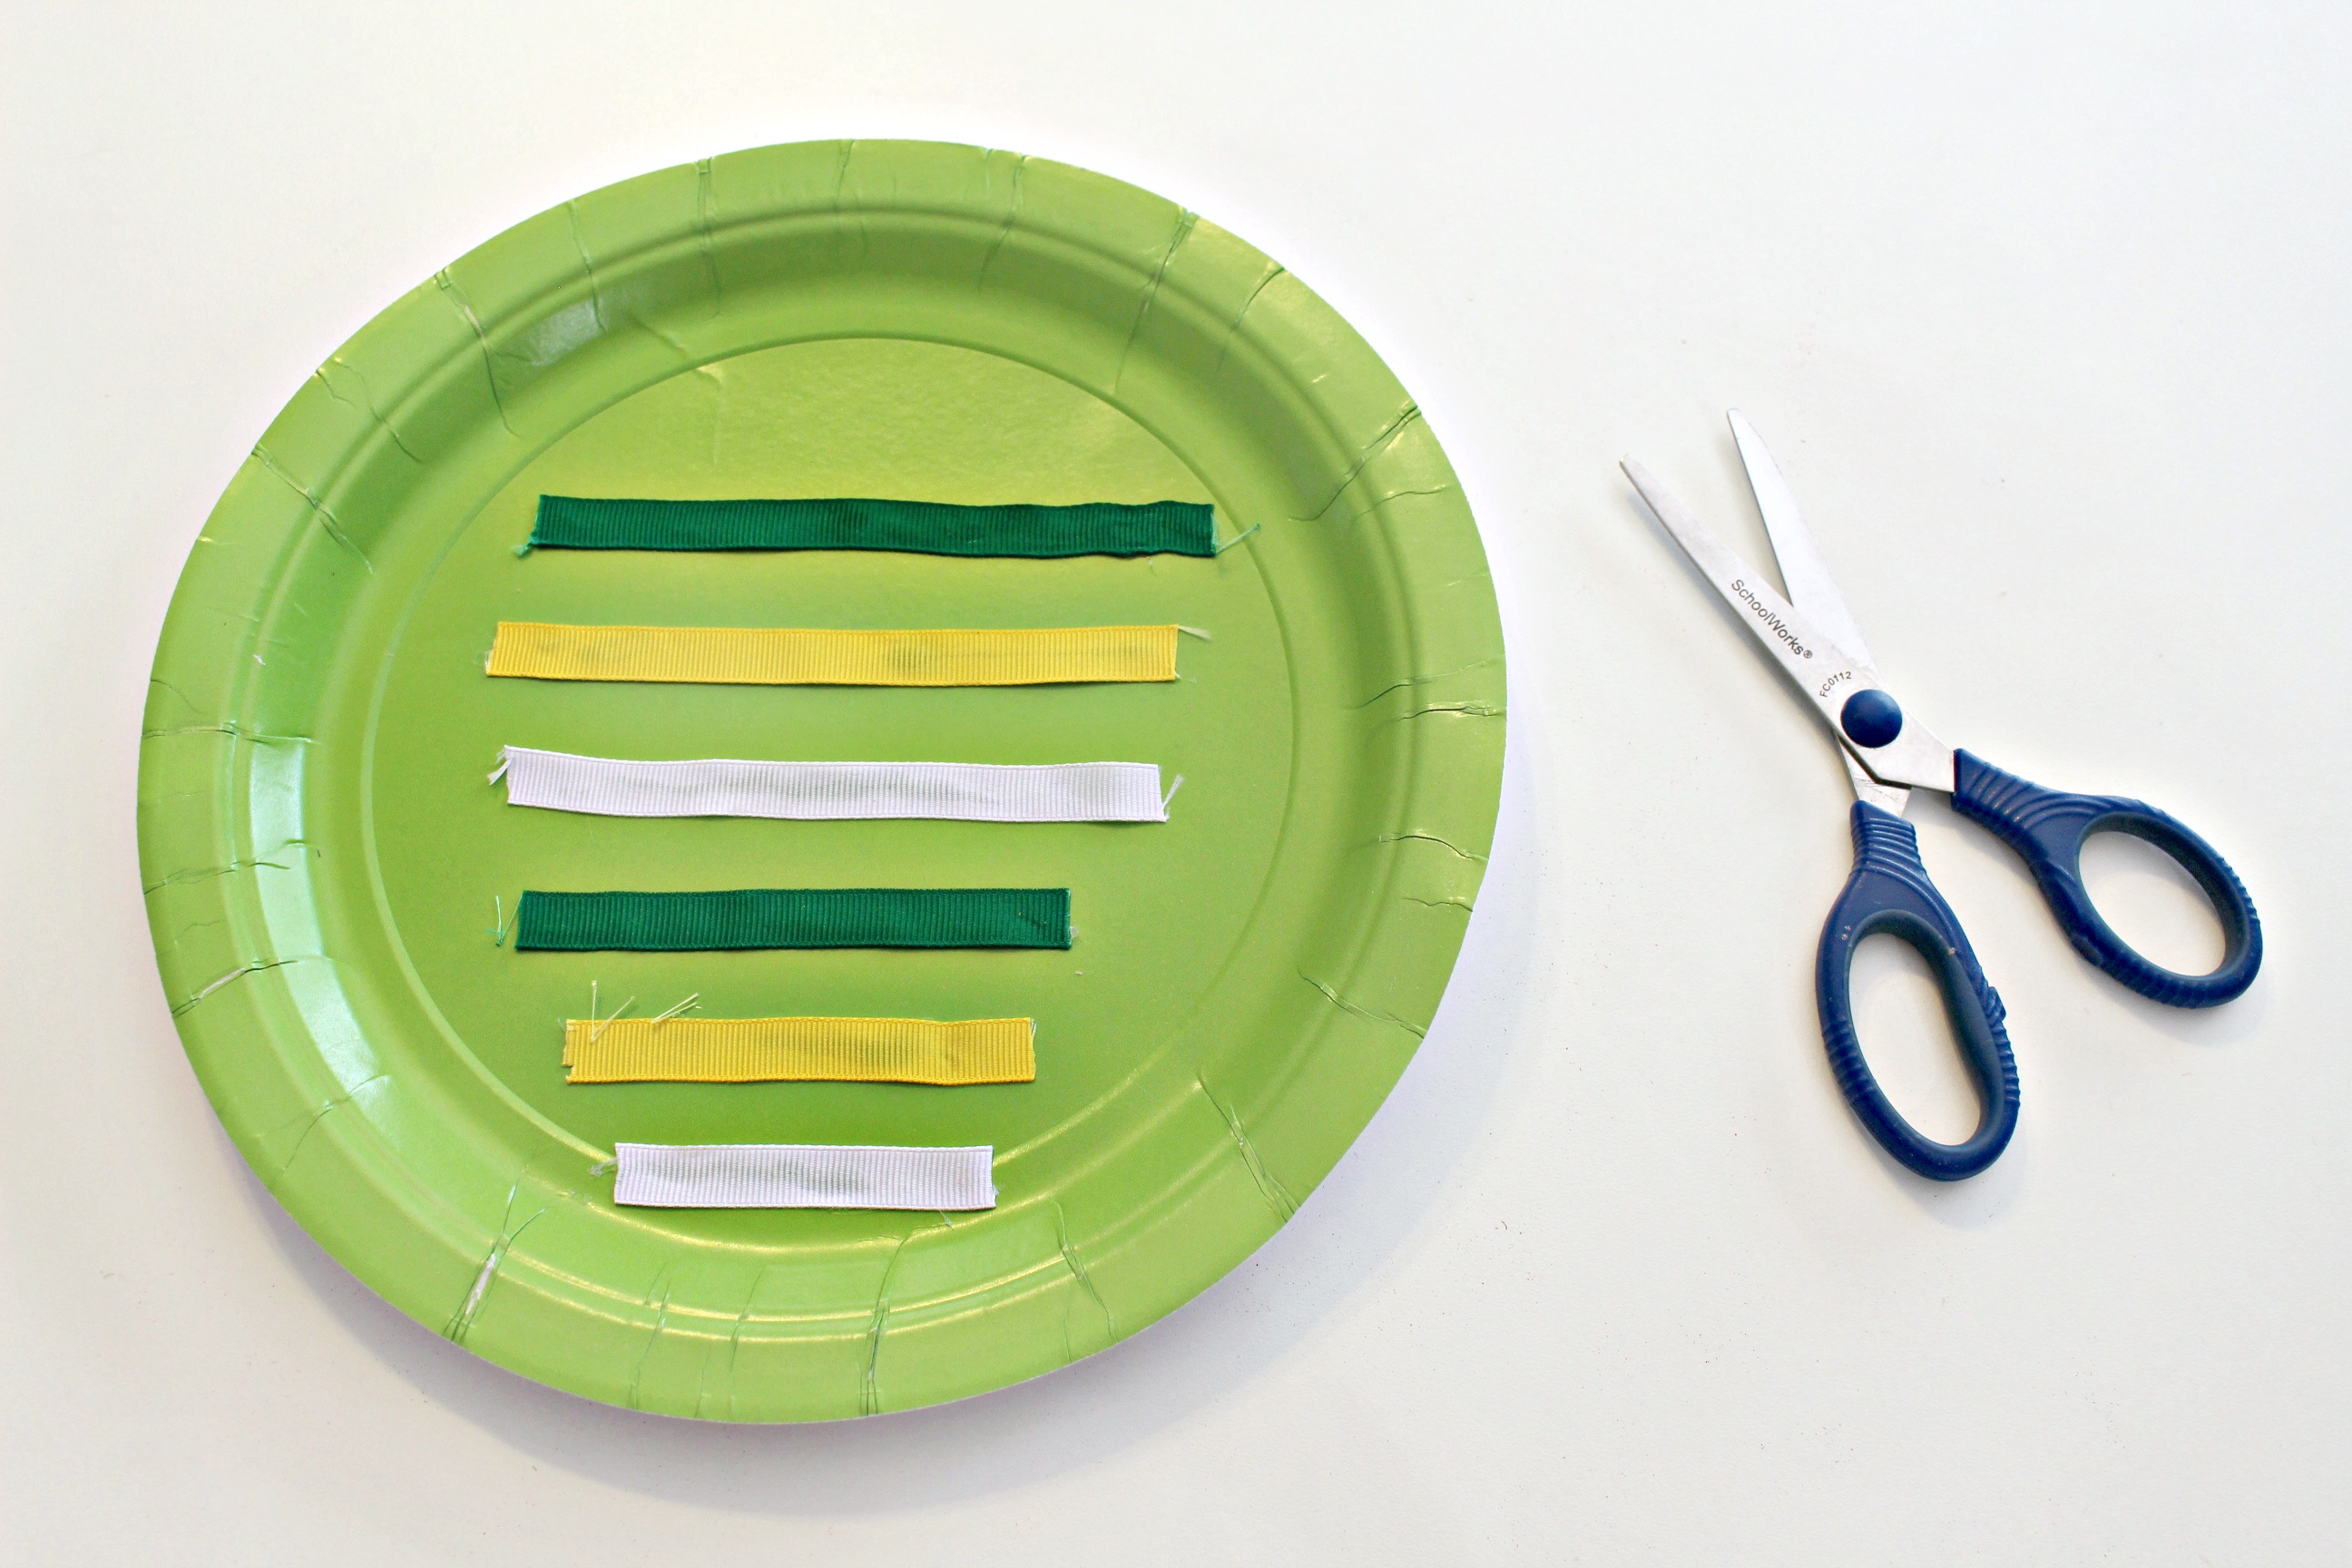
- yellow, green and white ribbon
- scissors
- markers
- pen
- plain paper
To Make:
Depending on the abilities of the child, adults can help with some of the steps in the process.
1.) Use the scissors to cut one plate at the top to make the owls ears. (see photo)
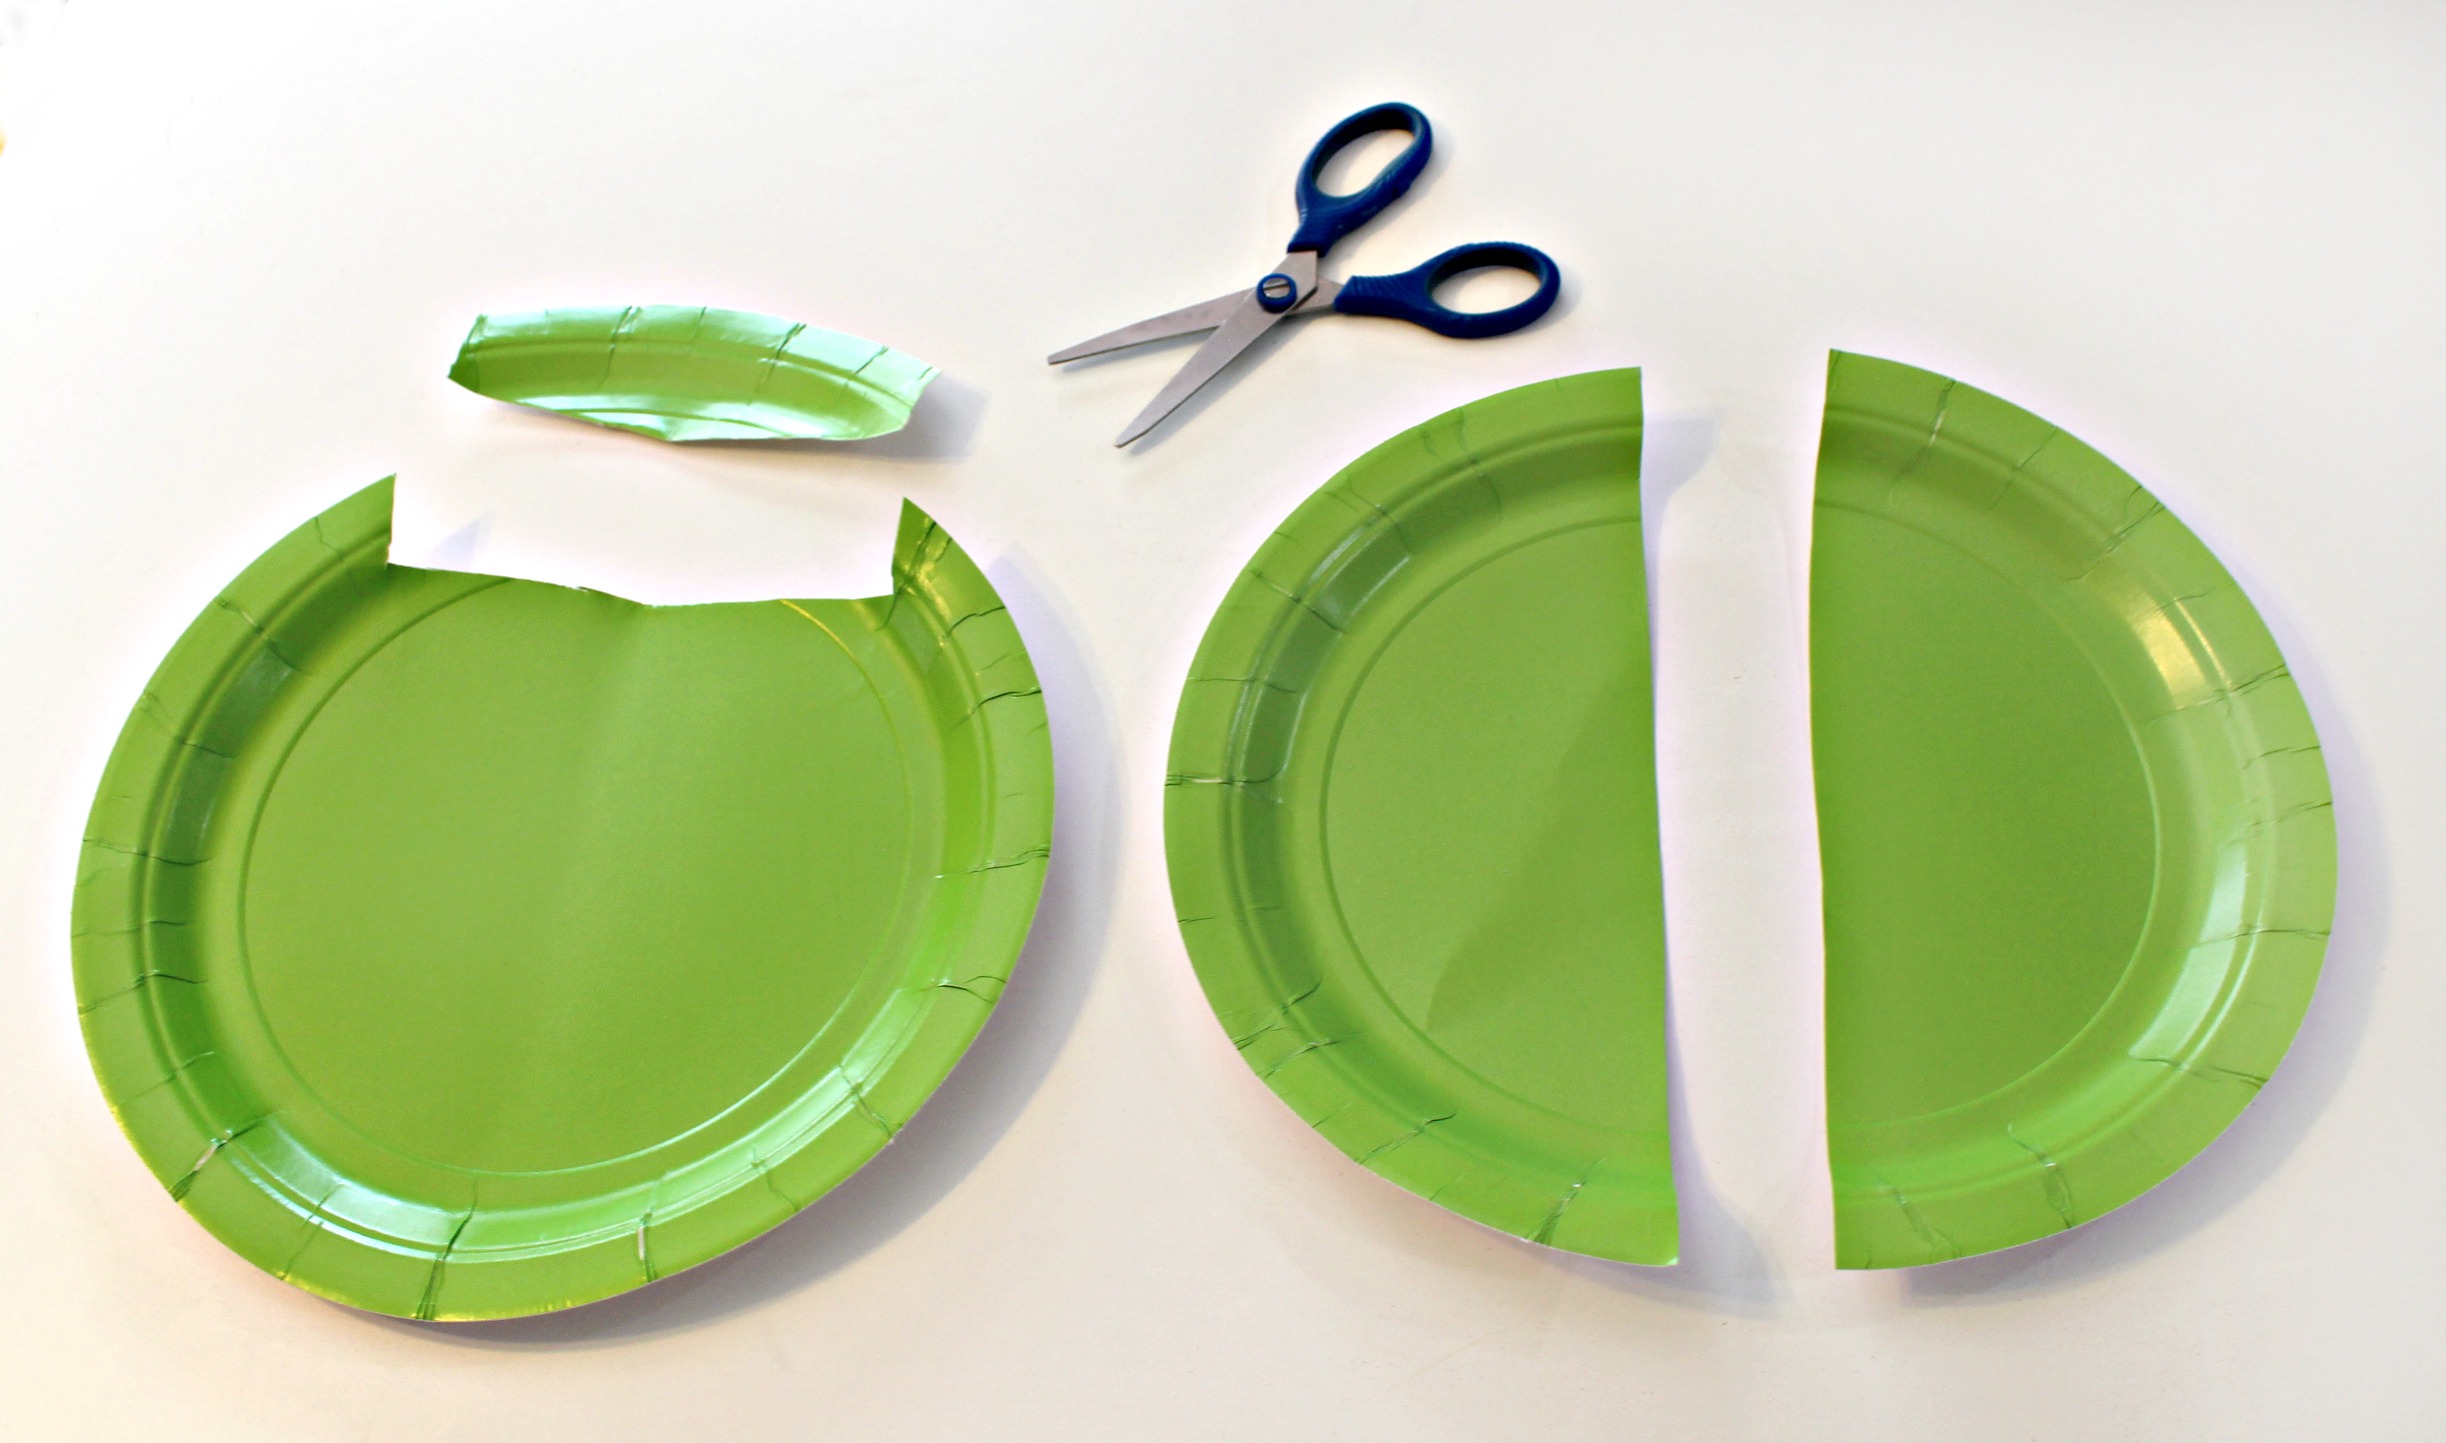
2.) Cut another plate in half to make the wings.
3.) Use the pen to draw two big, round eyes (approx. 3 inches in diameter) with a smaller circle in the center.
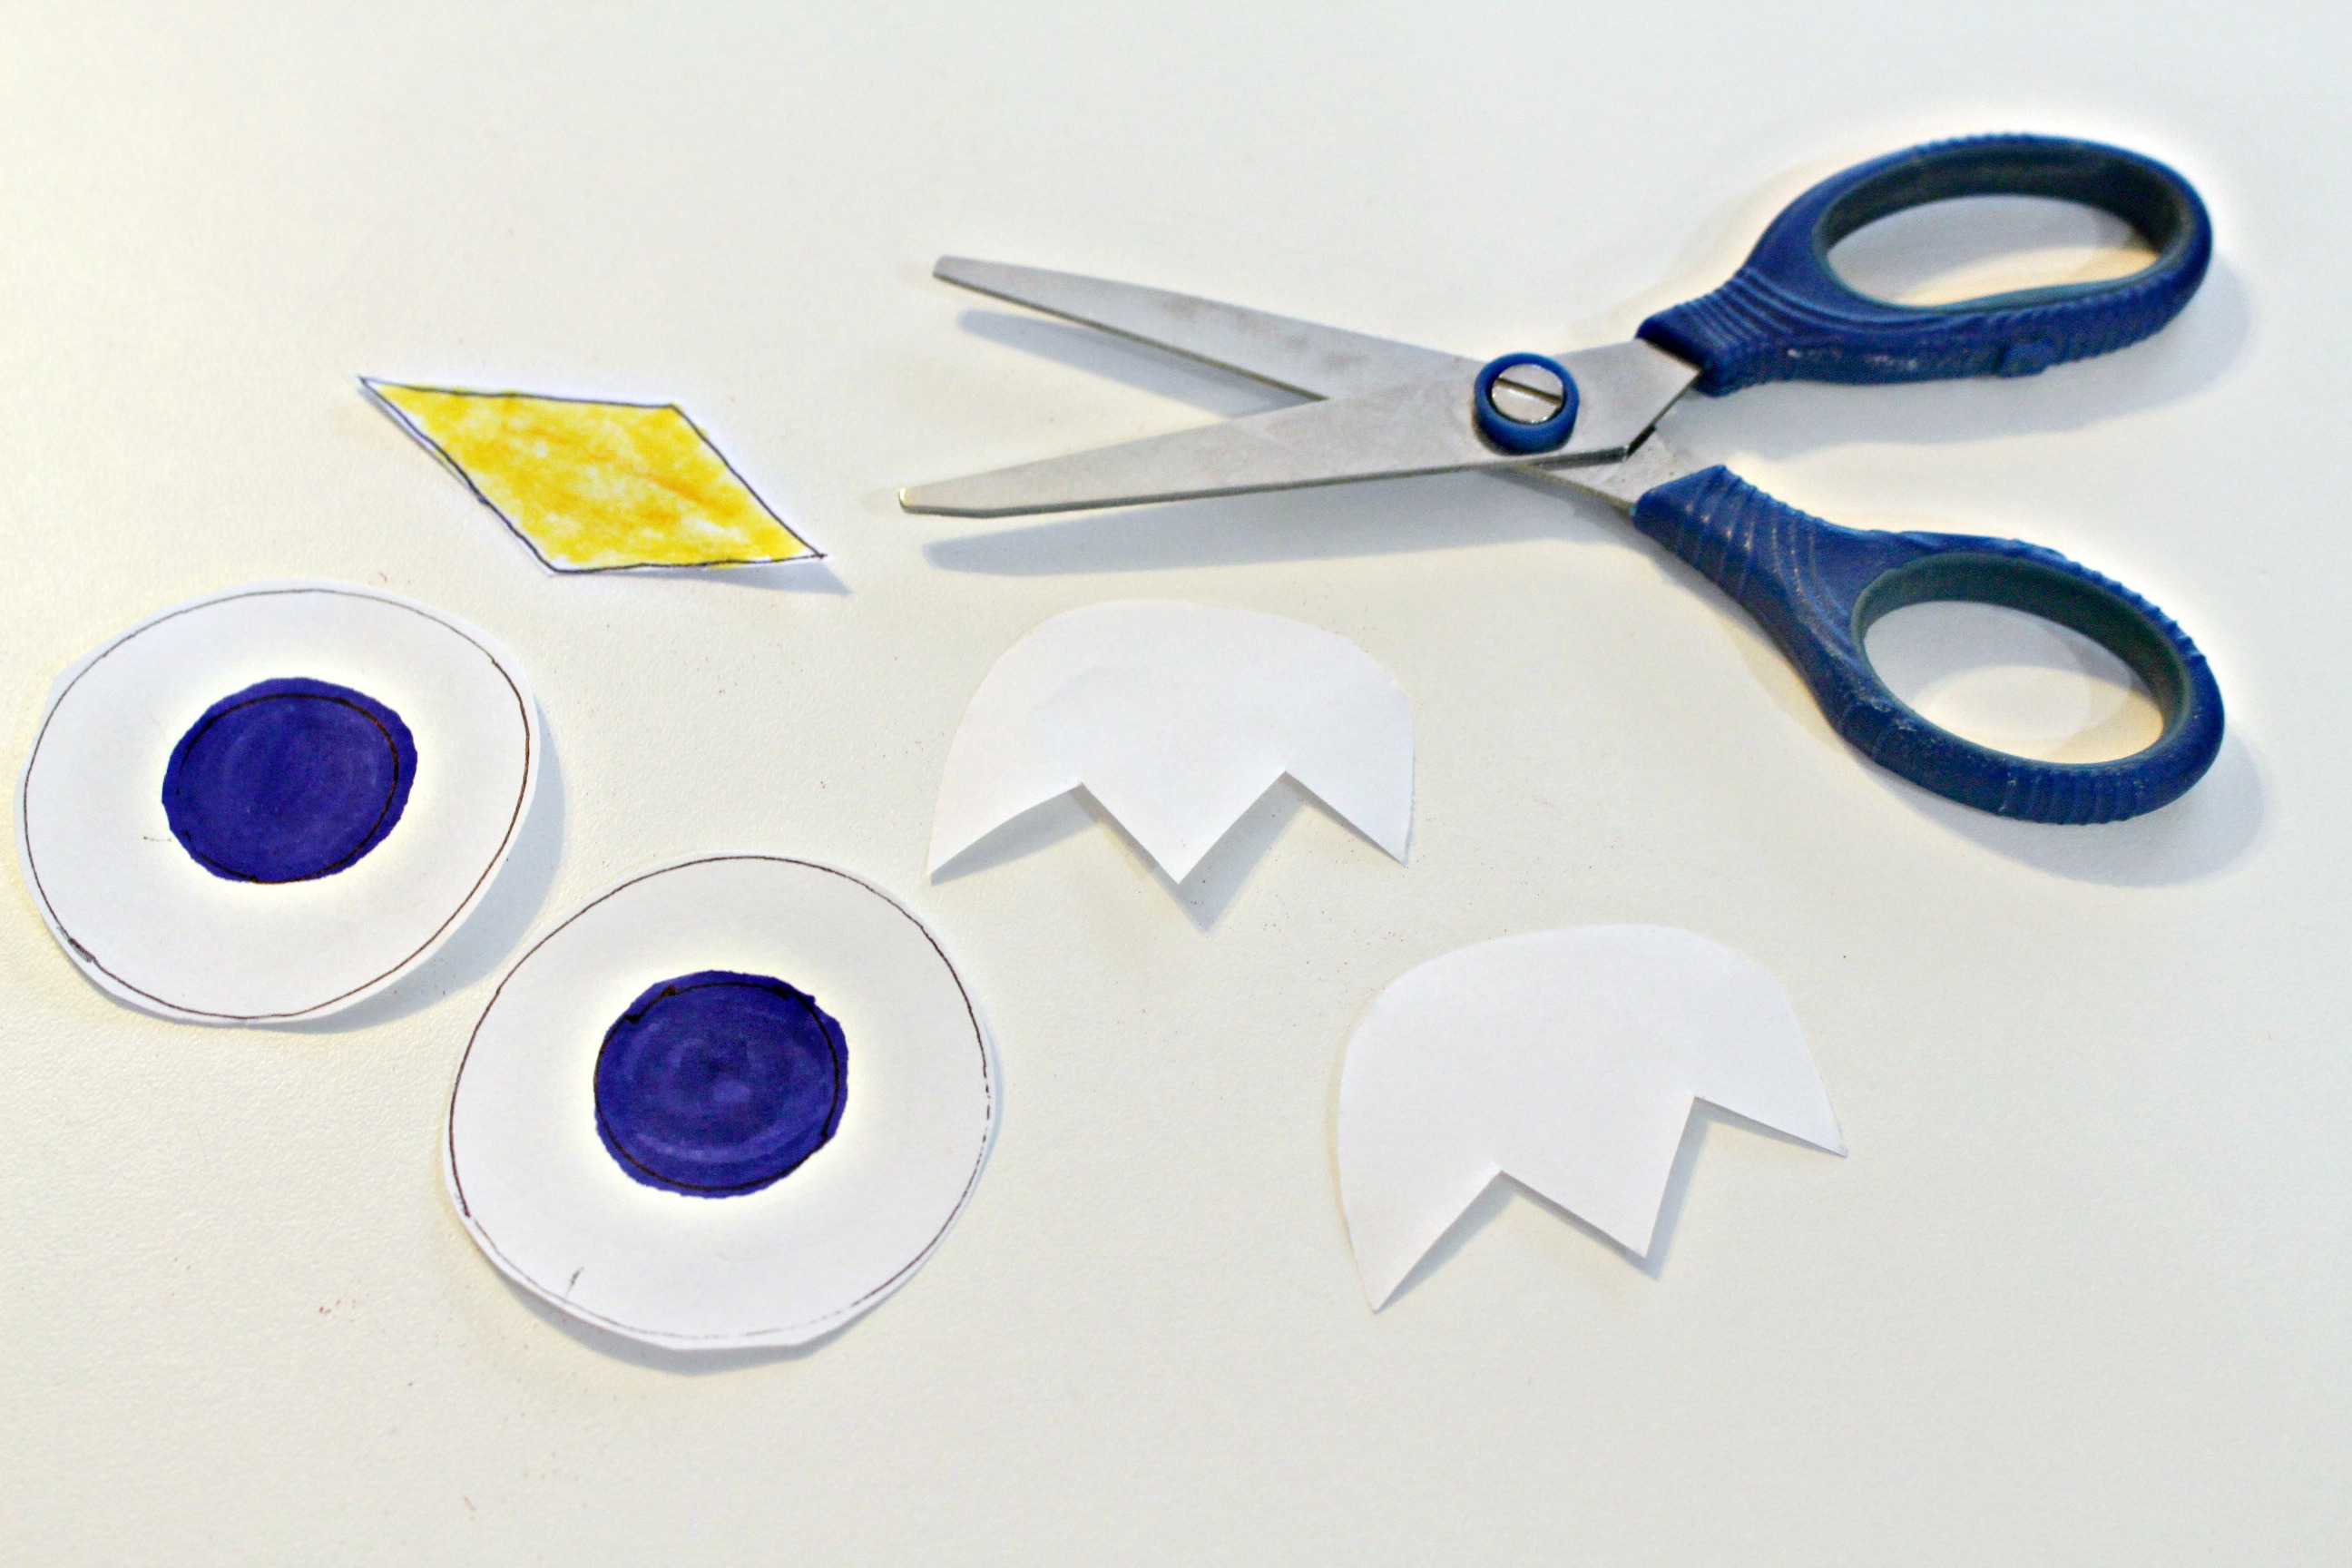
4.) Draw two feet for the owl by making a semi circle the same size as the eyes and then 3 points across the bottom (like an upside down tulip).
5.) Draw a diamond about 2″ x 1″ for the beak.
6.) Color in the beak and the eyes.
7.) Cut out all the pieces and set aside.
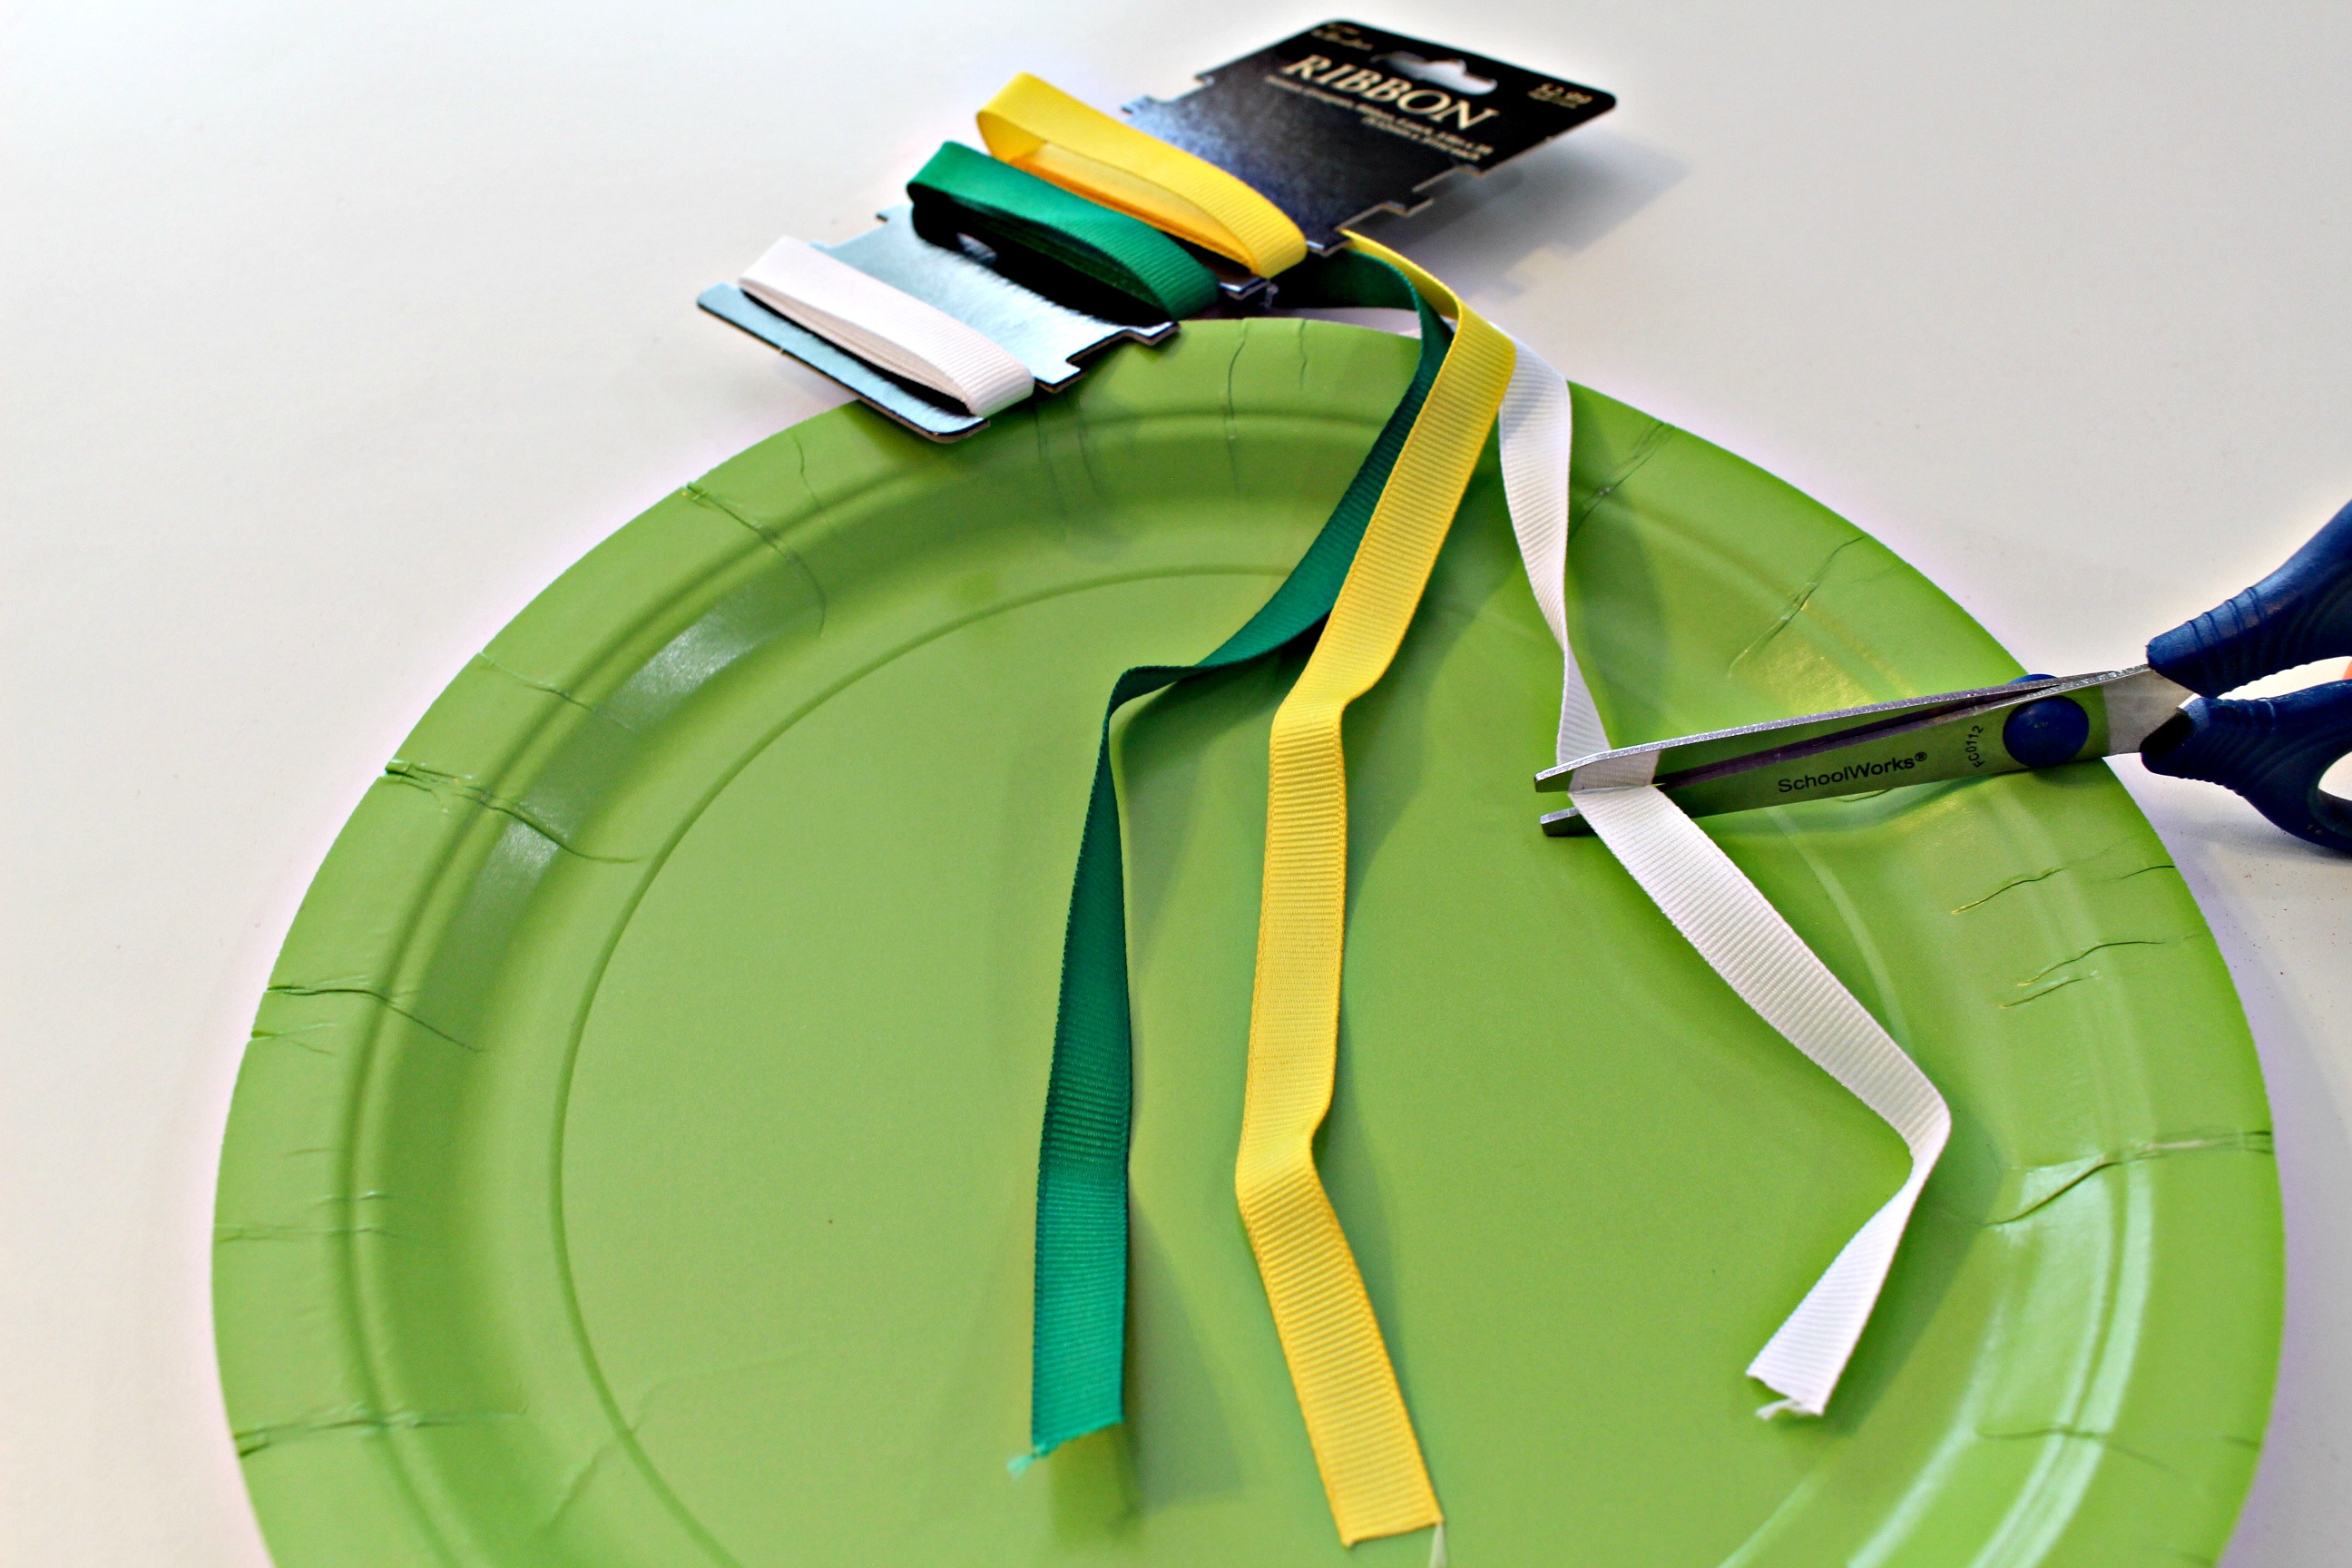
8.) On the third plate, cut pieces of string and glue them in rows on the body.
9.) Glue the eyes and beak on the head.

10.) Assemble the pieces to create an owl.
11.) Glue the feet to the bottom of the body.
12.) Choose a feather for each wing and glue to secure.
TIP: You can use the glue gun to help child secure the paper plates to cut down on drying time.
Now you’re done. Hopefully you’ve made a few with your crew of little helpers so there’s a whole family of them.
Enjoy your adorable little paper plate owl!
